


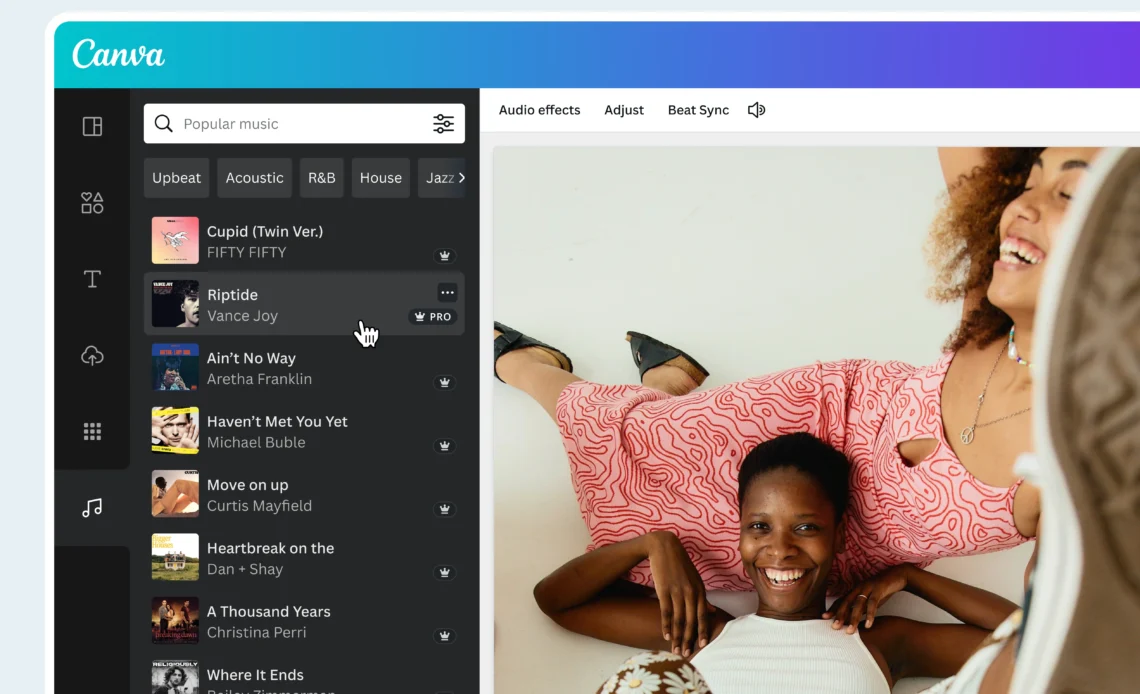
Good video can feel unfinished when the soundtrack does not explain what the viewer is seeing. A silent street, a door that closes without a sound, or a lyric video with no sense of space all create distance. An add audio to video workflow gives creators a fast way to build an initial soundscape, then shape it with the same care they give the picture.
The goal is not to make every moment loud. Give each visual a useful audio role, use generated sound as a working layer, and keep enough control to revise the mix before publishing.
Why Should Audio Be Planned Before the Final Export?
Audio affects how viewers read a cut. A soft room tone can make a close-up feel intimate, while a sharp impact can make the same cut feel comic or dangerous. If you wait until the last export, you may discover that the music, dialogue, and effects are all competing for the same space.
Watch the video once without changing anything. Mark the moments that need location, movement, emphasis, or silence. A simple spotting list might include footsteps, traffic, wind, a device alert, a door, and a beat where the music should pull back. These notes give you a creative brief instead of a vague request for “better audio.”
How Do You Define the Role of Each Audio Layer?
Separate the mix into clear jobs:
- Dialogue or narration carries information and emotion.
- Music controls pace and signals a change in mood.
- Ambience tells the audience where the scene takes place.
- Effects give visible actions weight and timing.
When two layers do the same job, one usually needs to be simplified. For example, a busy music bed can hide a spoken instruction, while a dense collection of effects can make a short social clip feel tiring. Labeling tracks by purpose makes those decisions easier to explain to a collaborator.
How Can You Build a Useful First Sound Pass?
Upload your video to the Add Audio to Video tool, then describe the sound effect you need in the input box, such as “footsteps on a wooden floor,” “busy city traffic,” or “a soft door creak.” The AI reads the video context and your description, generates the corresponding audio, and adds it to the video so you can preview the result before downloading. Treat this first pass as a sketch. It can reveal missing moments and suggest textures you might not have considered.
Review the generated track against the image at normal speed. Then replay the same section with the video paused at key frames. A sound that feels plausible in motion may still begin too early, linger after an action, or distract from a face. Keep the useful layers and replace anything that changes the meaning of the shot.
Keep a Clean Reference Mix
Save an export with only the original dialogue or guide track before you add new elements. This reference helps you compare clarity, timing, and emotional emphasis. It also gives you a safe fallback if a generated effect becomes too prominent during later edits.
When Does an AI Song Cover Strengthen a Video?
An AI song cover generator can help when a creator needs a different vocal color for a demo, parody, lyric video, or short-form concept. The tool lets you select a voice, upload a track, and create a new vocal version while keeping the song’s melody as a reference. That makes it useful for testing direction before committing to a full recording session.
Use the cover to support the visual idea, not to replace one. A playful character may call for a bright, exaggerated vocal, while a reflective montage may need a restrained delivery. Generate two or three contrasting options, then compare them with the edit. The best choice is usually the one that leaves room for the image and does not turn every scene into a punchline.
How Do You Blend a Cover With the Picture?
Build the vocal and instrumental parts at a level where the words remain intelligible. If the video contains narration, lower the cover during the key sentence rather than forcing both tracks to compete. Watch for consonants at cuts, breaths under title cards, and endings that collide with a transition.
Create a short loop around the busiest section of the edit. Listen on headphones, a phone speaker, and ordinary laptop speakers. A mix that sounds exciting on headphones may lose the vocal on a small speaker. Small changes to automation, fades, and stereo width often solve more problems than adding another effect.
A Practical Rights Review Before Publishing
Changing a singer’s voice does not automatically clear the rights in the underlying song or recording. Creators need the necessary rights for visual and audio elements, and some cover songs may be eligible for monetization only under specific conditions. Check licenses for your source track, samples, and vocal model, and keep written permissions where they apply.
Copyright guidance for musicians is a useful starting point, but it is not legal advice. If a project is commercial, uses a recognizable performer, or relies on a third-party recording, get a rights review before release.
What Should You Check in the Final Review?
Use a repeatable checklist before you export:
- Does every important action have the right amount of sonic emphasis?
- Can a listener understand dialogue without turning up the volume?
- Do music changes follow the edit rather than fight it?
- Are fades clean at the beginning and end of the video?
- Does the cover voice fit the character, audience, and channel tone?
- Are source files, licenses, and approved versions stored together?
Watch the final file once without touching the timeline. Note the exact time of anything that pulls your attention away from the story. A second pass should fix those moments, not add more decoration by default.
Common Audio Mistakes to Avoid
Adding effects to every visible action. Select only sounds that clarify movement, place, or mood. Silence can make the next effect more meaningful.
Letting the music carry the whole edit. A strong song still needs room for speech, transitions, and natural pauses.
Choosing the most unusual cover voice. Novelty is useful for a test, but the most memorable option is not always the most readable one.
Skipping a rights check. A transformed vocal can sound new while the composition or recording remains protected.
A Workflow You Can Repeat
Spot the video, define the job of each layer, generate a rough sound pass, and audition a few vocal directions. Then mix for clarity, check the edit on several devices, and review the rights before publishing. Keeping those stages separate makes revisions faster and keeps creative choices visible.
Audio works best when it feels inevitable. Use automation to explore possibilities, then let timing, restraint, and a clear story decide what stays.

