


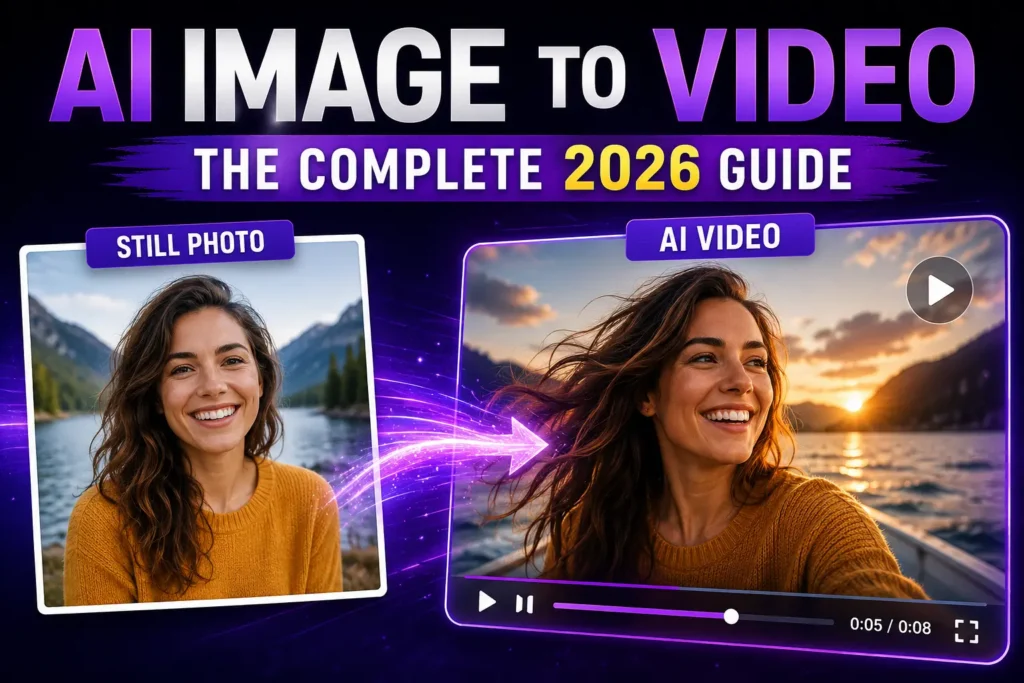
You probably have thousands of photos on your phone and almost no video. Meanwhile, every platform you publish on keeps asking for motion.
Closing that gap used to be expensive. Shooting video meant a camera, lighting, and an editing timeline. Generating it meant hiring someone.
That has changed. Modern image-to-video models take one still image and a short motion prompt and return a finished clip in minutes. This guide covers what it does, which models to choose, and how to prompt it well.
What Photo to Video AI Actually Does
Photo to Video AI is an online image-to-video generator. You upload a photo, describe the movement you want, and the platform renders a short video from it.
How it starts matters: instead of generating from a blank text prompt, the system anchors to your actual image, so subject, palette, and composition stay recognizable while motion is layered on top. Output is a short MP4 — typically 5 to 10 seconds, longer on models that support it — in 9:16, 16:9, or 1:1, at 720p or 1080p with up to 4K on supported models. It accepts JPG, PNG, and WEBP.
Why Creators Use It Instead of Shooting New Footage
- Speed: a first generation arrives in minutes.
- Cost: no crew, no studio, no freelancer invoice.
- Reuse: photos you already own become new content.
- Format coverage: 9:16 for TikTok and Reels, 16:9 for YouTube and ads, 1:1 for product pages.
The workspace shows the credit cost before you generate, and failed jobs return credits. Paid plans produce watermark-free video cleared for ads and client deliverables; free-credit clips carry a watermark.
How to Turn a Photo Into a Video: A Five-Step WalkthroughStep 1: Start With the Right Photo
Upload a JPG, PNG, or WEBP image and sign in to claim your free credits — no card required, and anonymous generation is not supported.
The source photo does most of the work. Choose a sharp image with a clearly visible face or product, plus room around the subject for the motion you have in mind. Animation adds movement; it does not restore detail that was never in the file.
Step 2: Choose the Workflow That Matches Your Shot
Photo to Video AI exposes several ways in, and choosing correctly matters more than any prompt tweak.
- Image to Video — one photo becomes one clip. This is the default entry point, and the motion prompt is optional here.
- First & Last Frame — supply two images and the model builds a continuous transition between them, for reveals, transformations, and before-and-after clips.
- Reference to Video — pass in multiple images to hold character or product details steady in a new scene. Limits vary by model; Veo 3.1’s reference field accepts up to three files.
- Motion Control — pair a still with a reference video to transfer its motion onto your image, choosing whether character orientation and background come from the video or the image.
- Video Edit, Video to Video, Lip Sync — for relighting footage, replacing backgrounds, restyling motion, or syncing speech to a portrait.
Step 3: Pick a Model
Model choice drives quality, duration, and credit cost, and the selector shows a description and minimum price for each.
- Veo 3.1 (Google) comes in three tiers: Lite for lowest-cost drafts, Fast for balanced speed and quality, and Quality for final cinematic renders. Durations are 4, 6, or 8 seconds with Auto, 16:9, or 9:16 ratios. Two behaviors matter: attaching reference images locks the ratio to 16:9 and the duration to 8 seconds, and the Quality tier switches to a first/last-frame workflow and disables reference mode. Lite supports 720p, 1080p, and 4K.
- Kling covers two jobs. Kling 3.0 delivers cinematic motion, camera work, and native audio, priced per second with std or pro modes and silent or audio output from 3 seconds up. Kling 3.0 Omni targets reference consistency, with 720p and 1080p tiers and durations from 3 to 15 seconds. Kling 2.6 stays the reliable choice for portraits.
- Seedance (ByteDance) spans Seedance 2 for quality-first motion, 2 Fast for batch iteration, 2 Mini for low-cost drafts, and 1.5 Pro for cinematic motion with audio sync. These default to 480p with an audio toggle.
- Grok Imagine handles fast, low-cost drafts with fluid motion at 480p, 720p, or 1080p, from 6 up to 30 seconds. MiniMax H3 offers multimodal control with crisp on-screen text, and H3 Max adds native audio plus image, motion, and audio references. LTX 2.3 renders at 1080p, 2K, or 4K across 6 to 20 seconds.
Some newer entries are reserved for accounts that have completed a purchase, so the selector is the authoritative list of what your plan can reach.
Step 4: Write the Motion Prompt
Name one subject action, one camera move, then state what must not change. The studio ships templates built on exactly that shape:
- Natural motion: “Animate the main subject with this natural movement: [ ]. Add subtle secondary motion in the environment while preserving the subject’s identity, pose, composition, lighting, and visual style.”
- Slow push-in: “Use a slow cinematic camera push-in toward the main subject with gentle foreground and background parallax.”
- Smooth orbit: “Use a smooth controlled camera orbit around the main subject. Reveal believable depth while preserving identity, geometry, and materials.”
The gallery prompts work the same way: “Slow hand motion through golden water, warm sunlight, natural fluid ripple, peaceful and tactile” names one action and one mood without asking for five things at once. A prompt is optional for image-to-video but required for reference-to-video.
Step 5: Generate, Review, Download
Check the credit cost, generate, then watch the full clip before spending another credit. Look at movement, faces, hands, and product details. If something drifts, simplify the action or change the camera direction rather than rewriting the prompt. Then download the MP4 in the format you chose.
Settings That Actually Change the Result
- Aspect ratio presets: choose 9:16, 16:9, or 1:1 before generating so the composition fits the platform from the first render.
- Motion templates: start from a built-in camera or subject-motion prompt, then adapt it.
- Resolution options: pick what the model supports, from 720p up to 4K.
- Prompt-guided direction: describe subject movement, camera direction, and atmosphere.
Audio is a separate switch, so a silent draft and an audio render are two different generations.
Tips for Better Results
- Give the subject room to shine. A sharp, well-lit subject gives the model the most to work with.
- Describe one clear moment. “Steam rises as the camera pushes closer” beats “make it cinematic.”
- Match the control to the idea. First & Last Frame for a defined ending; Reference to Video for consistency.
- Refine one thing at a time. Change the action or the camera move, not both.
Common Mistakes to Avoid
- Vague motion prompts. “Add movement” gives the model nothing to follow.
- Cramming in multiple actions. One clip holds one beat well; five make it mushy.
- Ignoring aspect ratio. A vertical asset generated in 16:9 will not survive being cropped for Reels.
- Treating the first render as final. Iteration is the workflow, not a sign of failure.
What Photo to Video AI Cannot Do
It is an interpretation engine, not a duplication engine. Faces, small text, and fine product geometry can shift between frames, which is why clear references help and why brand-critical assets need review before publishing. Image limits differ per model, and some high-resolution outputs pass through an upgrade step. Commercial use is supported on paid plans, but rights to your source material remain yours to manage.
Frequently Asked QuestionsIs Photo to Video AI free to try?
Yes. New accounts receive free credits with no card required. Free-credit videos include a watermark, and costs vary by model and settings.
Do I need video editing experience?
No. The workflow is upload, choose a model and settings, describe the motion, generate, and download. There is no timeline editing involved.
Which models are available?
Supported Veo, Kling, Seedance, and Wan models appear in the selector, alongside Grok Imagine, MiniMax H3, LTX 2.3, and PixVerse V6. Check the selector for current availability and costs.
Can I generate HD or 4K video?
Yes — 720p, 1080p, and up to 4K are available on supported models. Some high-resolution outputs use an upgrade step.
Can I use the clips commercially?
Paid plans produce watermark-free output and support commercial use, subject to your rights to the source material.
The Video You Wanted Is Already in Your Camera Roll
What used to require a shoot and a budget now starts with a photo you took months ago. The craft has moved upstream: a sharp source image, one clear action, one camera move, and the right model for the job.
Pick a photo. Describe the moment. Then let the first render tell you what to refine.